GCP DevOps - HandsOn | Cloud Build , Cloud Build Trigger , Container Registry |

In this lab, you built a continuous integration pipeline using the Google Cloud tools Cloud Source Repositories, Cloud Build, build triggers, and Container Registry.

Cloud Source Repositories , Cloud Build, Cloud Build Trigger , Container Registry ,

DevOpsProjectWithGCP

In this project, you will build a continuous integration pipeline using Cloud Source Repositories, Cloud Build, build triggers, and Container Registry.

Prerequisites

  1. Google Cloud tools Cloud Source Repositories.

  2. Cloud Build.

  3. Build triggers.

  4. Container Registry.

And, a bit of familiarity with GCP.

Objectives - In this lab, you will learn how to perform the following tasks:

  1. Create a Git repository

  2. Create a simple Python application

  3. Test Your web application in Cloud Shell

  4. Define a Docker build

  5. Manage Docker images with Cloud Build and Container Registry

  6. Automate builds with triggers

  7. Test your build changes

  8. You have done a great job! Pat ya back!

Task 1 : Create a Repository

After creating this repo -> got Cloud Console -> Activate Cloud shell

mkdir gcp-course                                     #creating the folder
ls
cd gcp-course
gcloud repos clone DevOps-repo                      #cloning the repo in our folder

Task 2: Create a Simple python application

open the editor on gcp -> click on new window -> select the folder or file of you repo

main.py


from flask import Flask, render_template, request
app = Flask(__name__)
@app.route("/")
def main():
    model = {"title": "Hello! Welcome to the GCP DevOps Project!!"}
    return render_template('index.html', model=model)
if __name__ == "__main__":
    app.run(host='0.0.0.0', port=8080, debug=True, threaded=True)

Save this file cntrl+S

Create a new folder in the gcp-course/DevOps-repo folder "templetes"

Afte that -

Create a new file "layout.html" inside the templetes folder
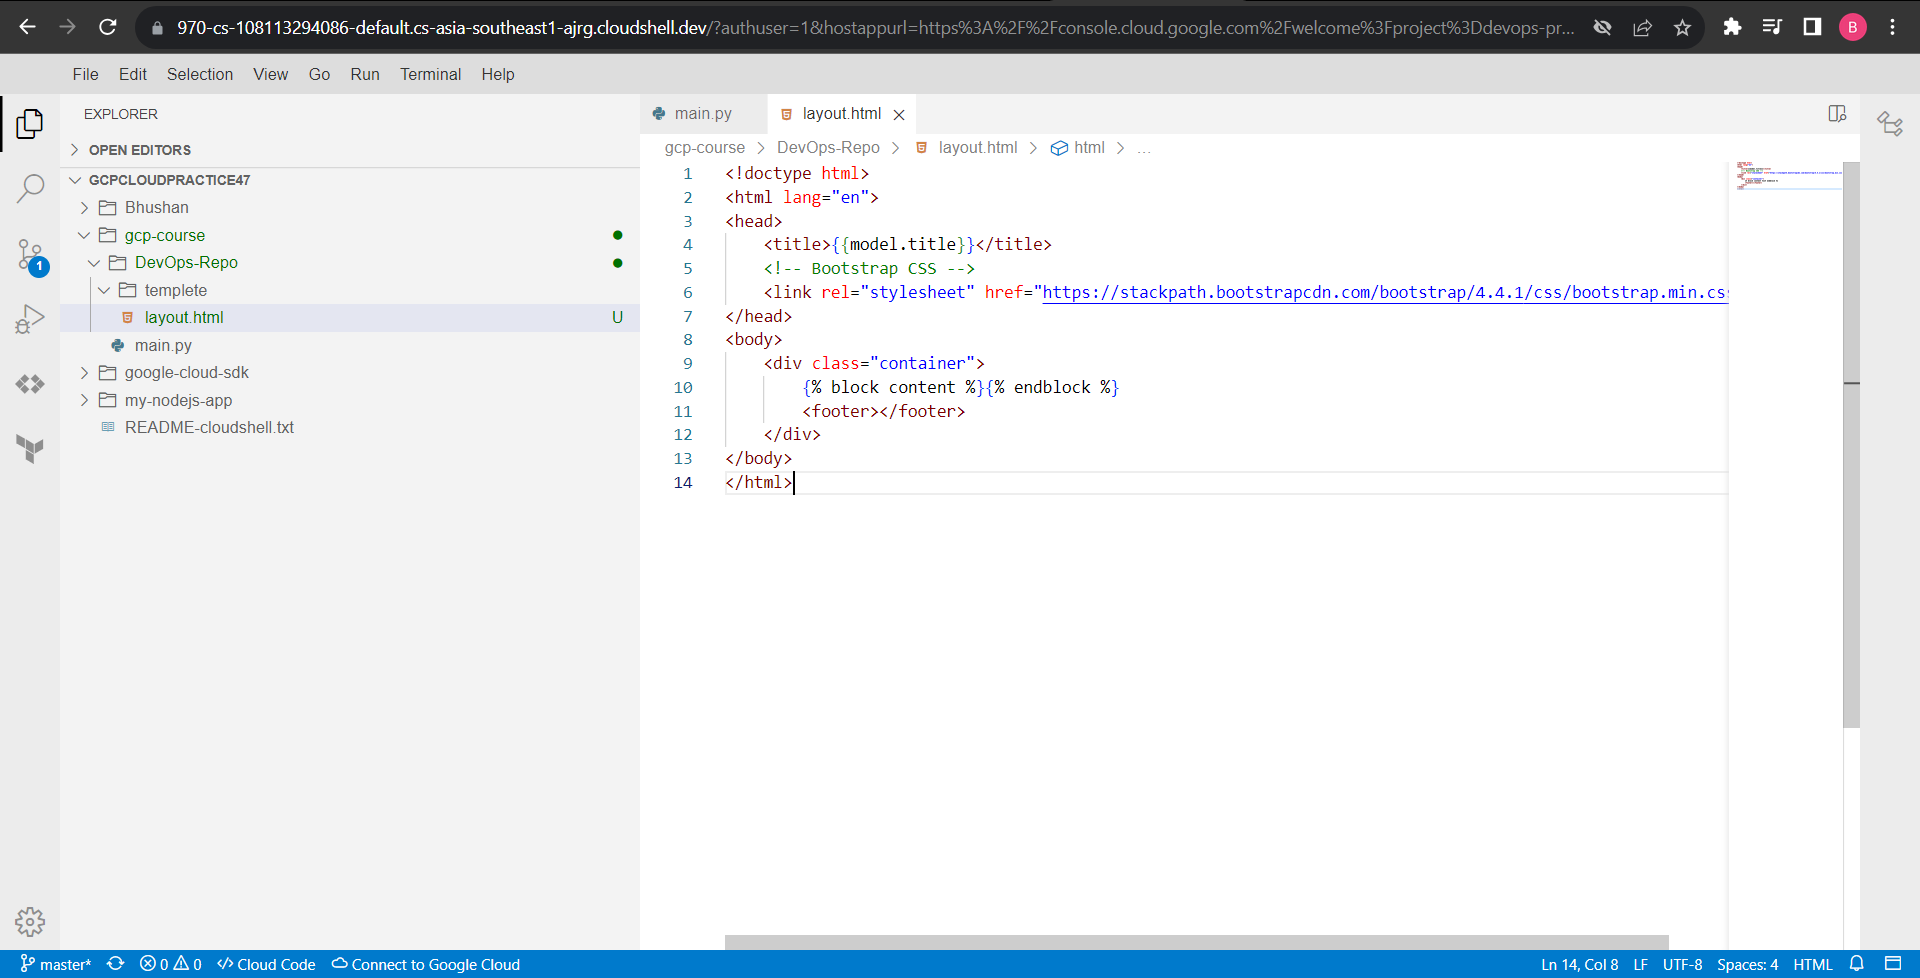
paste the htm code here -

<!doctype html>
<html lang="en">
<head>
    <title>{{model.title}}</title>
    <!-- Bootstrap CSS -->
    <link rel="stylesheet" href="https://stackpath.bootstrapcdn.com/bootstrap/4.4.1/css/bootstrap.min.css">
</head>
<body>
    <div class="container">
        {% block content %}{% endblock %}
        <footer></footer>
    </div>
</body>
</html>

Create a index.html file in the tempplete folder

{% extends "layout.html" %}
{% block content %}
<div class="jumbotron">
    <div class="container">
        <h1>{{model.title}}</h1>
    </div>
</div>
{% endblock %}

Create a requriements.txt in the templete folder

Flask==2.0.3

goto on the Cloud shell

git config --global user.name "Your Name"
git config --global user.email "your@email.com"
git status
git add --all
git status
git commit -a -m "Message"
git push origin master

Task 3. Define a Docker build

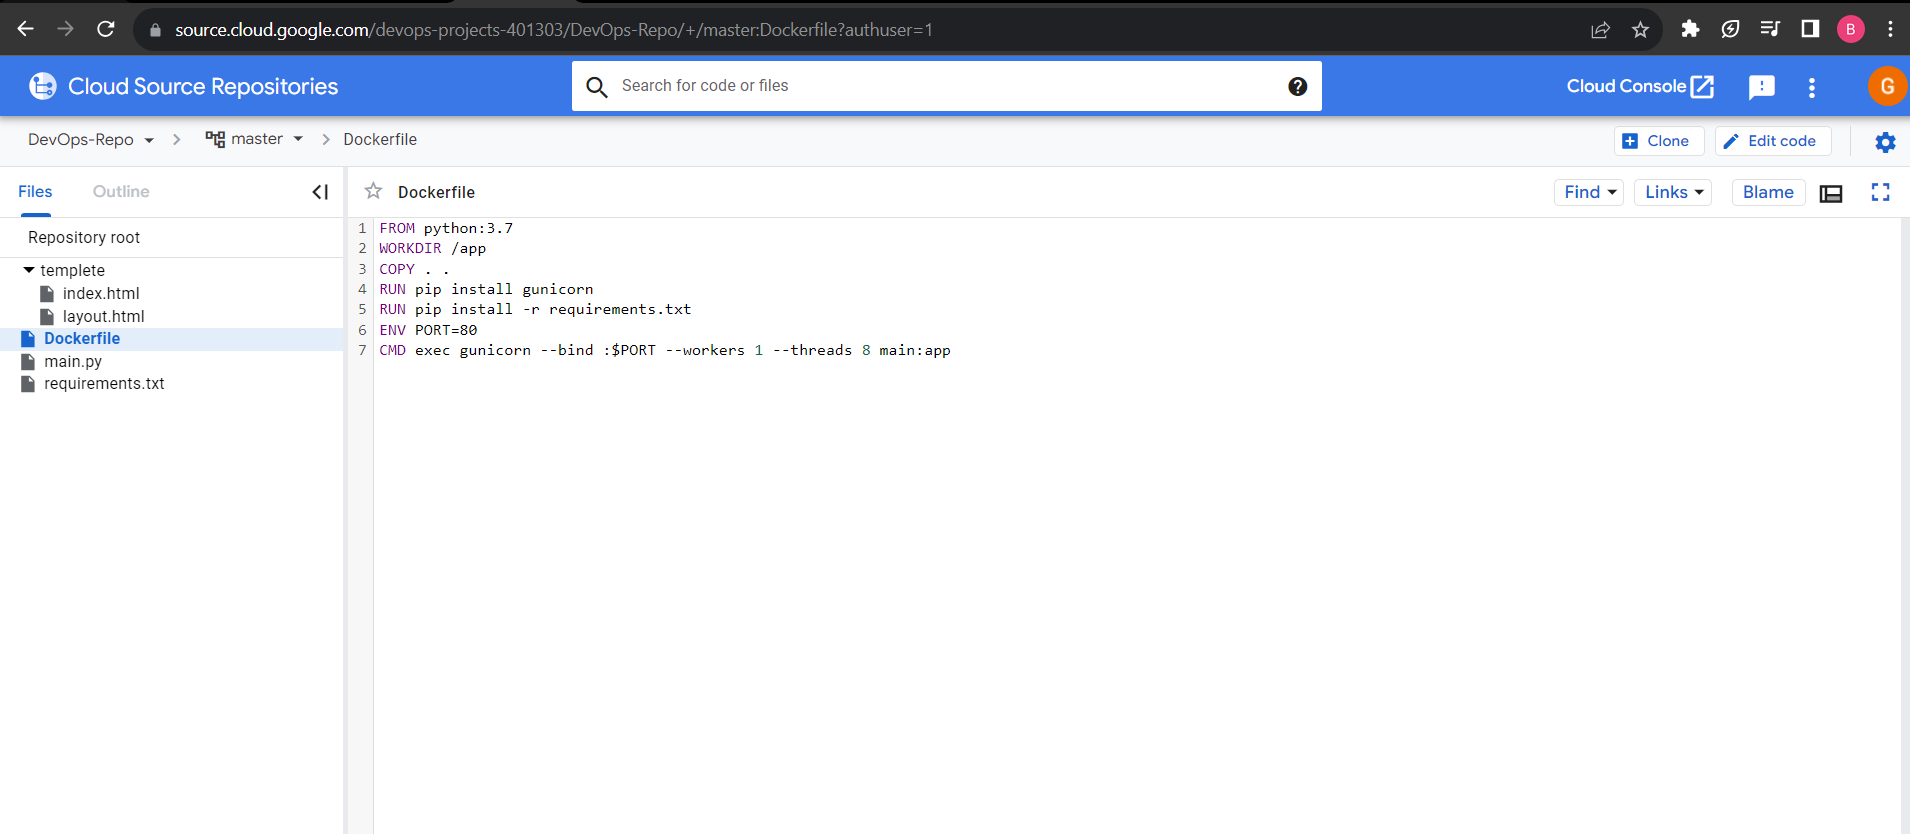
Create a dockerfile in templete folder and push it on th repo

Dockerfile-

FROM python:3.7
WORKDIR /app
COPY . .
RUN pip install gunicorn
RUN pip install -r requirements.txt
ENV PORT=80
CMD exec gunicorn --bind :$PORT --workers 1 --threads 8 main:app
git add --all
git status
git commit -a -m "Message"
git push origin master

Task 4. Manage Docker images with Cloud Build and Container Registry

For checking the project id Commands-

 echo $DEVSHELL_PROJECT_ID

So now , For building the docker file -> goto the templete folder , where your docker file is present

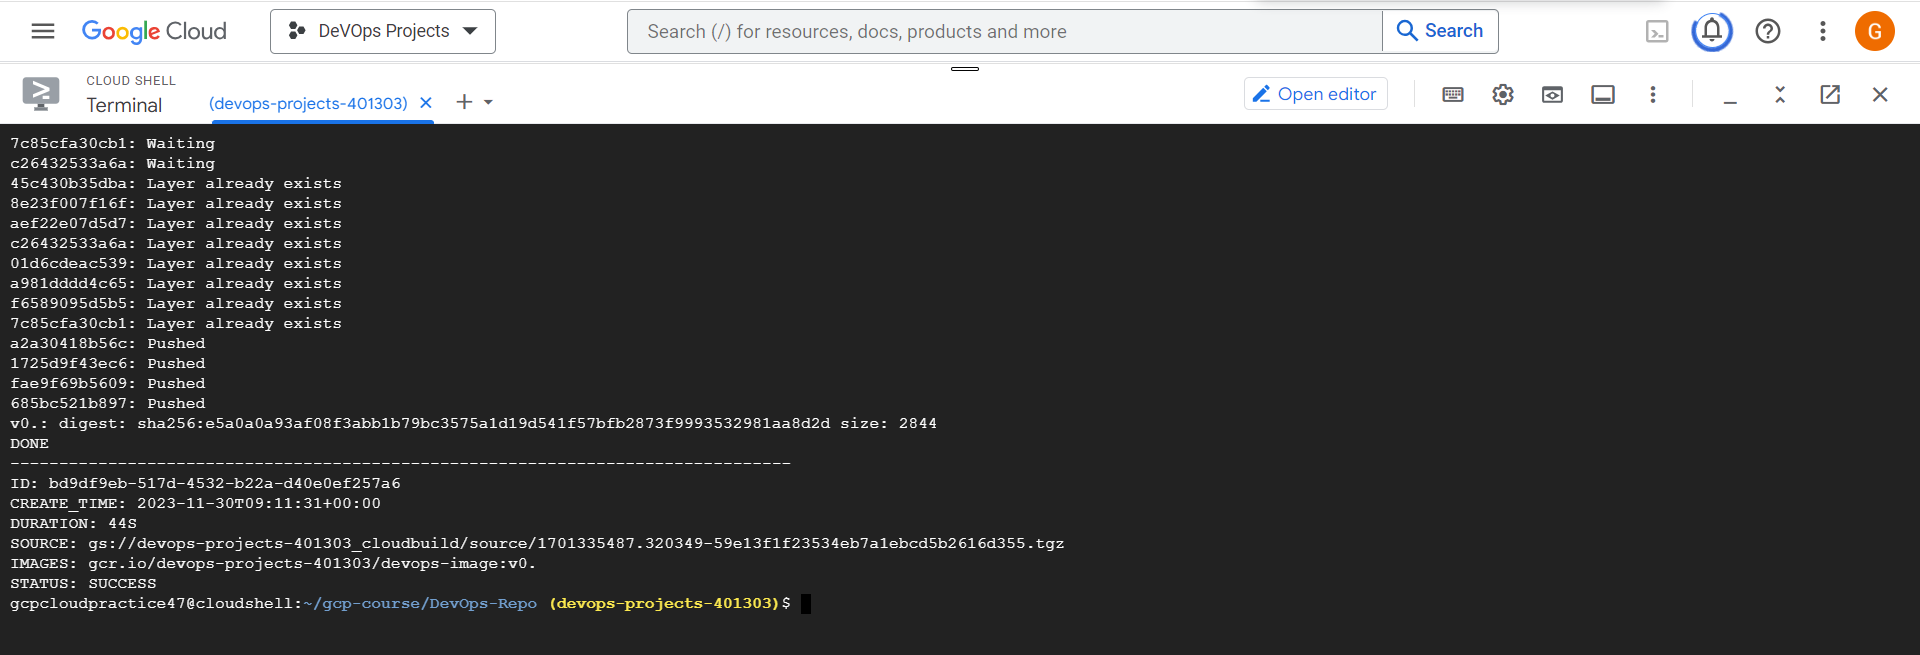
gcloud builds submit --tag gcr.io/$DEVSHELL_PROJECT_ID/devops-image:v0.

IMAGE CREATE

Container Ragistry - images

Create a Trigger -

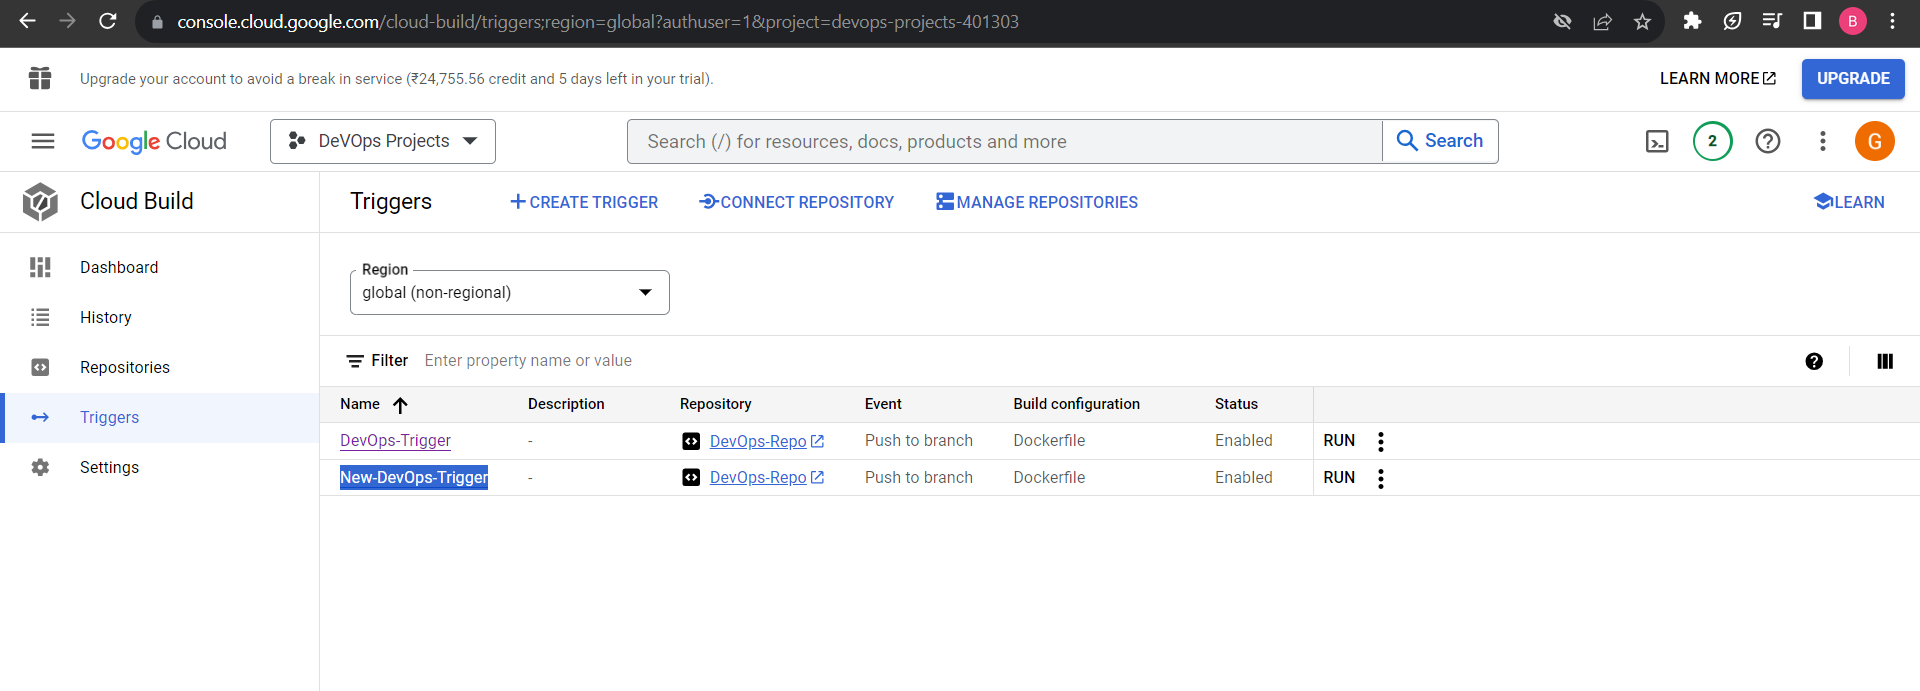
Cloud Build -

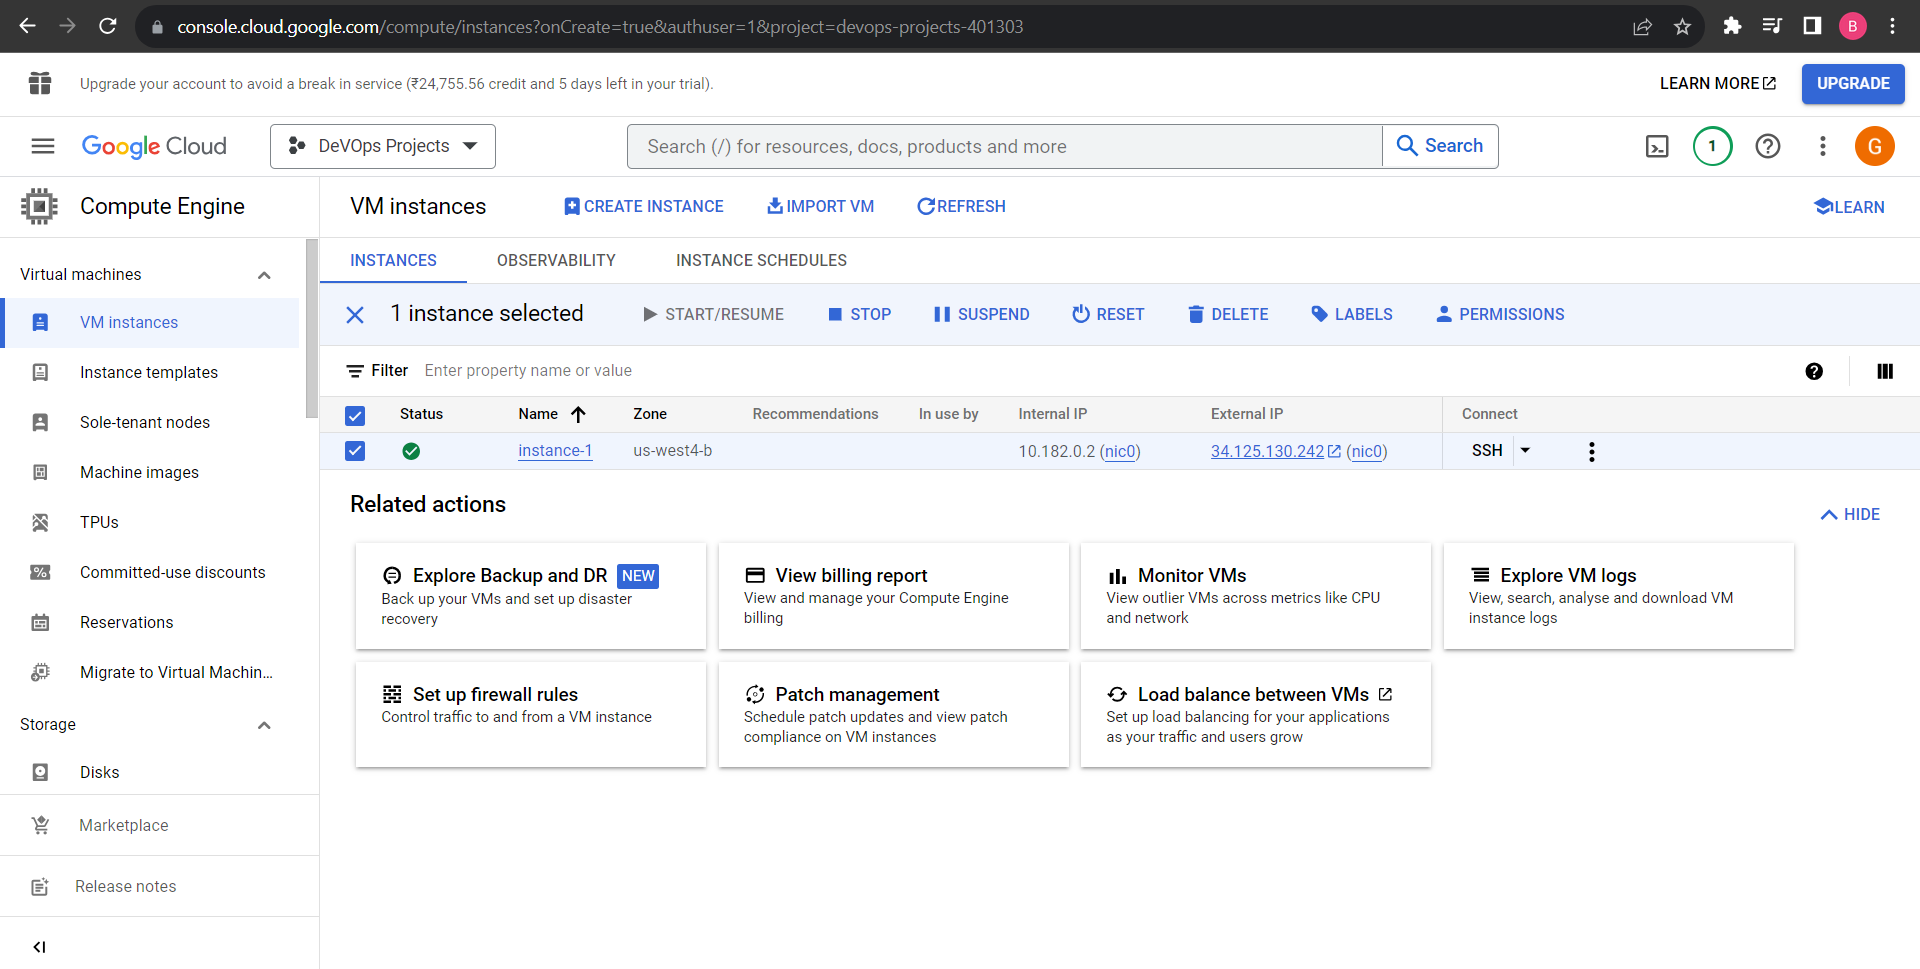
for building the code crreate an virtusl machine - Compute Engine & allow the HTTP traffic

pushing all the files on the repo -

Task 5. Automate builds with triggers

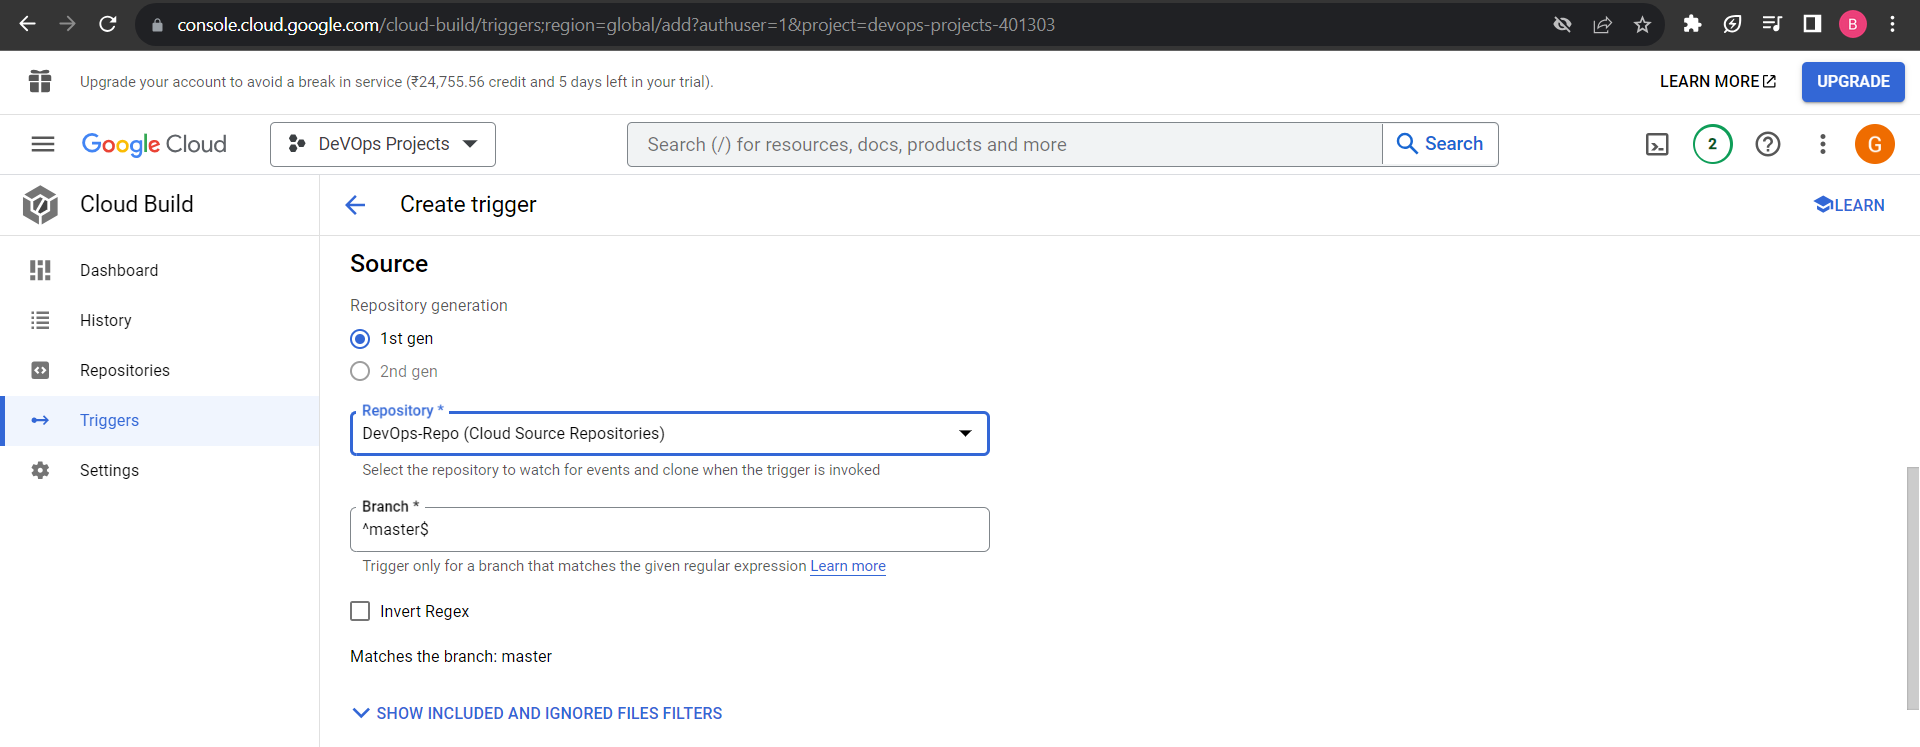
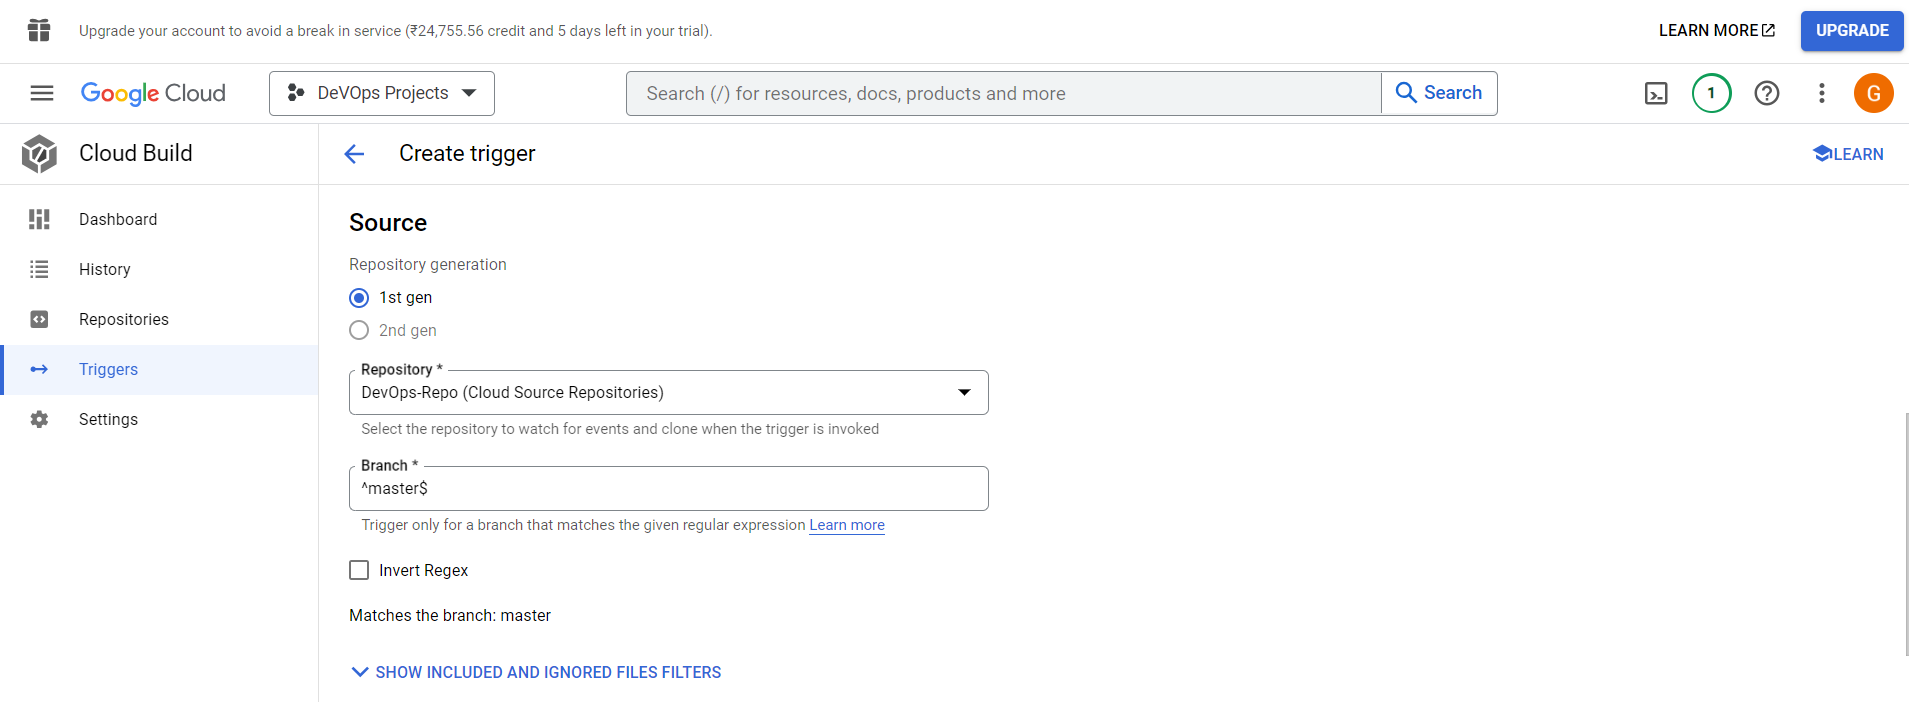
Create a Trigger -

Cloud Build -> Trigger -> Create Trigger -> Follow Below images

Last updated